
Unless you’re one of those blogger prodigies who just picked up a DSLR and is naturally amazing at taking photos, getting started with photography can be pretty intimidating. I hope this super simple tutorial is helpful if you’re interested in moody and dramatic food photography!
WHAT YOU NEED:
– directional light (ie: window)
– camera + tripod (this tut works for iPhone photo also)
– sheets of black and white foam boards
– props & surfaces (dark or saturated colors, heavy textures)
– something to photograph
– photoshop or lightroom (optional)
1. SET UP
Arrange your subject on a surface or tabletop. For practicing purposes, you can simply place a candle or another random household object on the surface.
Like shown on the diagram, you’ll want to set up so that your light source is on one side of your subject and your black foam core is to the other side. The black board helps increase the density of the shadows and tone down highlights that might be on the side. If your subject needs a lil extra light on either side, simply use the white foam board to brighten in certain areas.

2. SHOOT
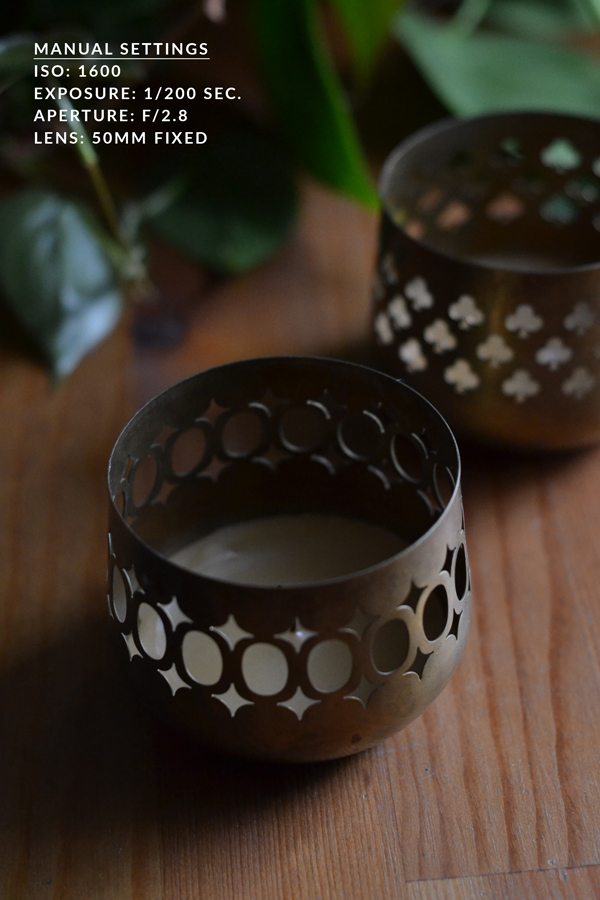
If shooting with a DSLR or mirrorless camera, you’ll want to shoot in either Manual mode or Aperture Specific as these will give you the most control. The goal is to have your photo be pretty close to what you’d like the final image to be so that it requires minimal editing. For reference, here are the settings used for this specific photo:
Notice that my aperture is only 2.8 (smaller number = more stuff out of focus) which gives me a nice soft focus. With an aperture that small, you need to compensate with a higher ISO (sensitivity) to be able to have a wider range on your exposure. If that is over your head, don’t fear! Put your camera in Aperture shoot mode and simply play around with the f-stop till you reach a look that’s fairly close to what you see below.
3. EDIT
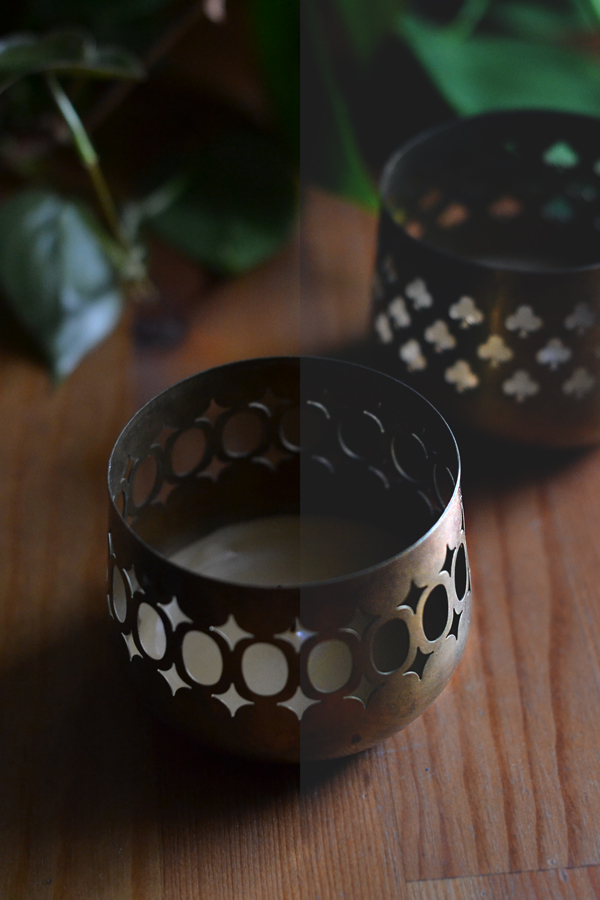
The key characteristics behind the look and feel of “moody” photos are cool tones, heavy shadows, natural light, and soft focus. You can achieve this looks using a DSLR and photo editing software, or you can mimic the editing using your iPhone’s software or third party apps.
As I mentioned before, I like to shoot the original photo close to what I want the final product to be, then do some minor retouching using Photoshop or Lightroom. In the image below, I did a few things: sharpened my focal point, burned shadows, dodged a few highlights, boosted saturation in certain areas, cooled the tones, and bumped up my exposure offset to get that kinda faded look.
You can achieve a similar look if shooting from a phone by editing the “black point” in your phone’s photo editor or using a third party app like VSCO.
4. SAVE
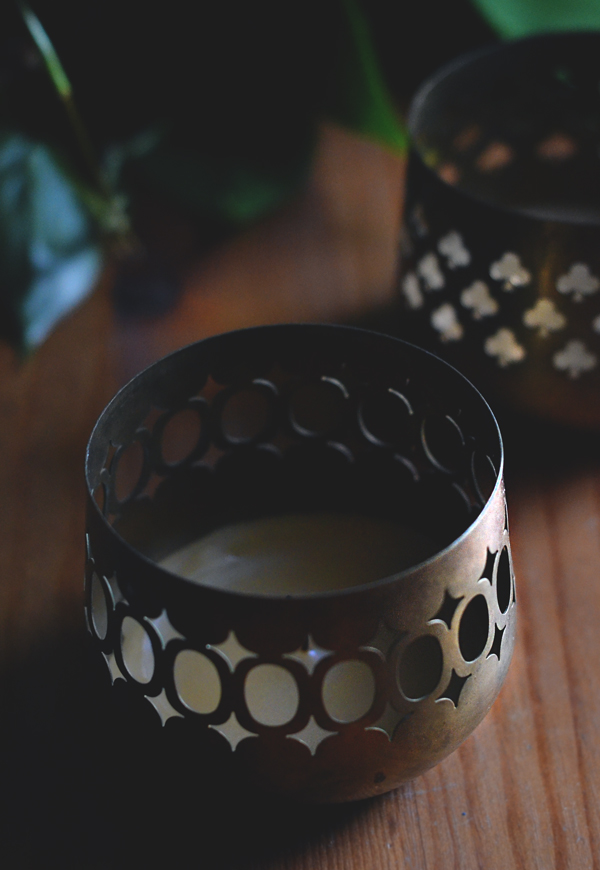
Once your image has reached that rich and moody look, simply save your work and share. If you give this tutorial a try and want to show off your work, be sure to tag @paintedfork so I can check it out!
5. PRACTICE
Once you get the hang of the lighting and arrangements, you can seriously take pictures of anything – ANYTHING – and it will look nice. These pictures were shot on a surface of scrap wood and the background you see is a metal tin tray (usually holding candles) flipped up on it’s side. Start looking around your house and use your imagination – you probably have plenty of random items that can be used as surfaces and props without spending any $$.


Very informative and helpful!
LikeLiked by 1 person
So glad you found this tutorial helpful!
LikeLike